Identity Providers
Purpose: Configure external identity systems for SSO (SAML, OIDC). This document explains configuration considerations, testing, and governance.
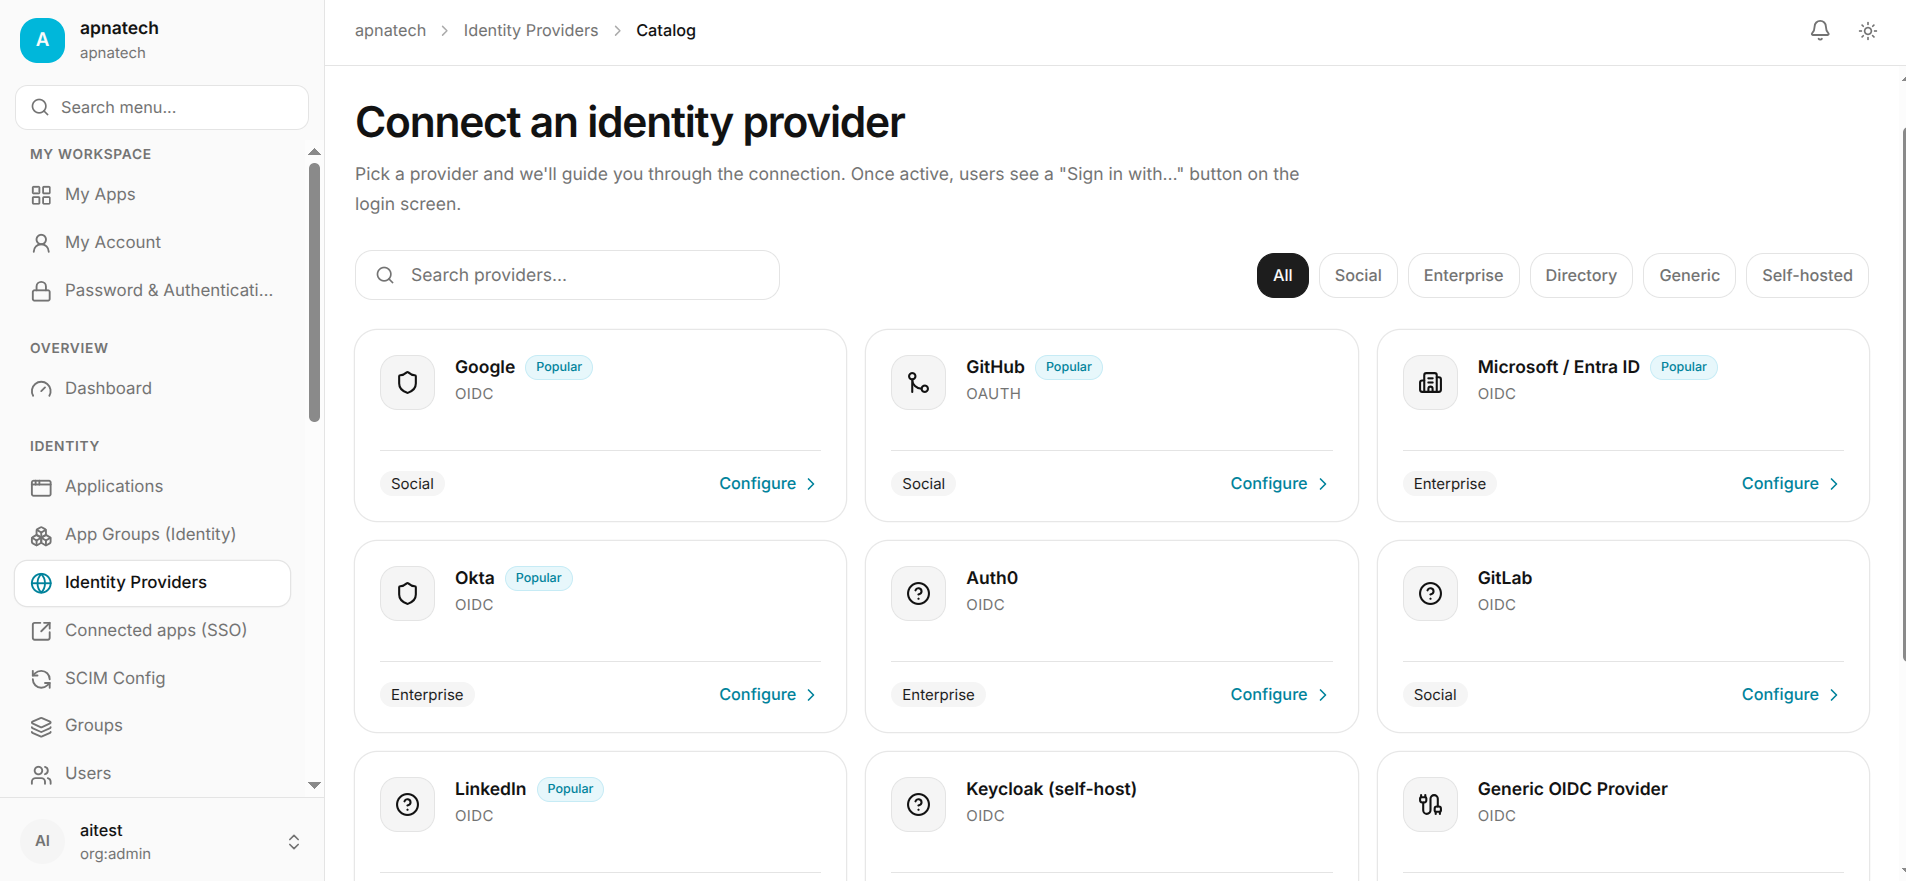
Configuration Guidance
- For SAML:
- Provide an ACS/callback URL to the IdP (portal displays the callback URLs for copy/paste).
- Supply the portal’s metadata or a certificate if required by the IdP.
- For OIDC:
- Supply a redirect URI and the portal’s configured client ID/secret if using SP-initiated flows.
- Use discovery endpoints for automated metadata fetching if supported.
Step-by-step: Add an OIDC Provider
- Step 1: Add provider → paste discovery URL or issuer info.
- Step 2: Enter the client ID and secret (store securely).
- Step 3: Configure claim mapping and roles/groups mapping (see Roles & Permissions).
- Step 4: Test sign-in with a test user.
- Step 5: If successful, enable for either a pilot group or organization-wide.
Step-by-step: Add a SAML Provider
- Step 1: Add SAML provider → upload IdP metadata or paste SSO URL and certificate.
- Step 2: Configure attribute mappings for the SAML assertion (NameID, email).
- Step 3: Test the SSO sign-in flow.
- Step 4: Enable incrementally for a pilot group.
Testing Best Practices
- Always test with a single test user and a fallback admin account before enabling widely.
- Maintain an out-of-band recovery admin not tied to the IdP to recover from misconfiguration.
Security & Governance
- Rotate IdP certificates before expiry and coordinate metadata changes with the IdP (see Signing Keys).
- Document attribute mapping and keep a record of approved IdP configurations.
Troubleshooting
- SSO loops or failures: check clock skew, redirect/ACS mismatch, and certificate expiration.
- Claims not arriving as expected: inspect the IdP assertion and adjust mapping accordingly.
Short FAQ
- Q: Can multiple IdPs be enabled?
- A: Yes - the portal can support multiple identity providers; route by domain or allow user selection at login depending on configuration.